
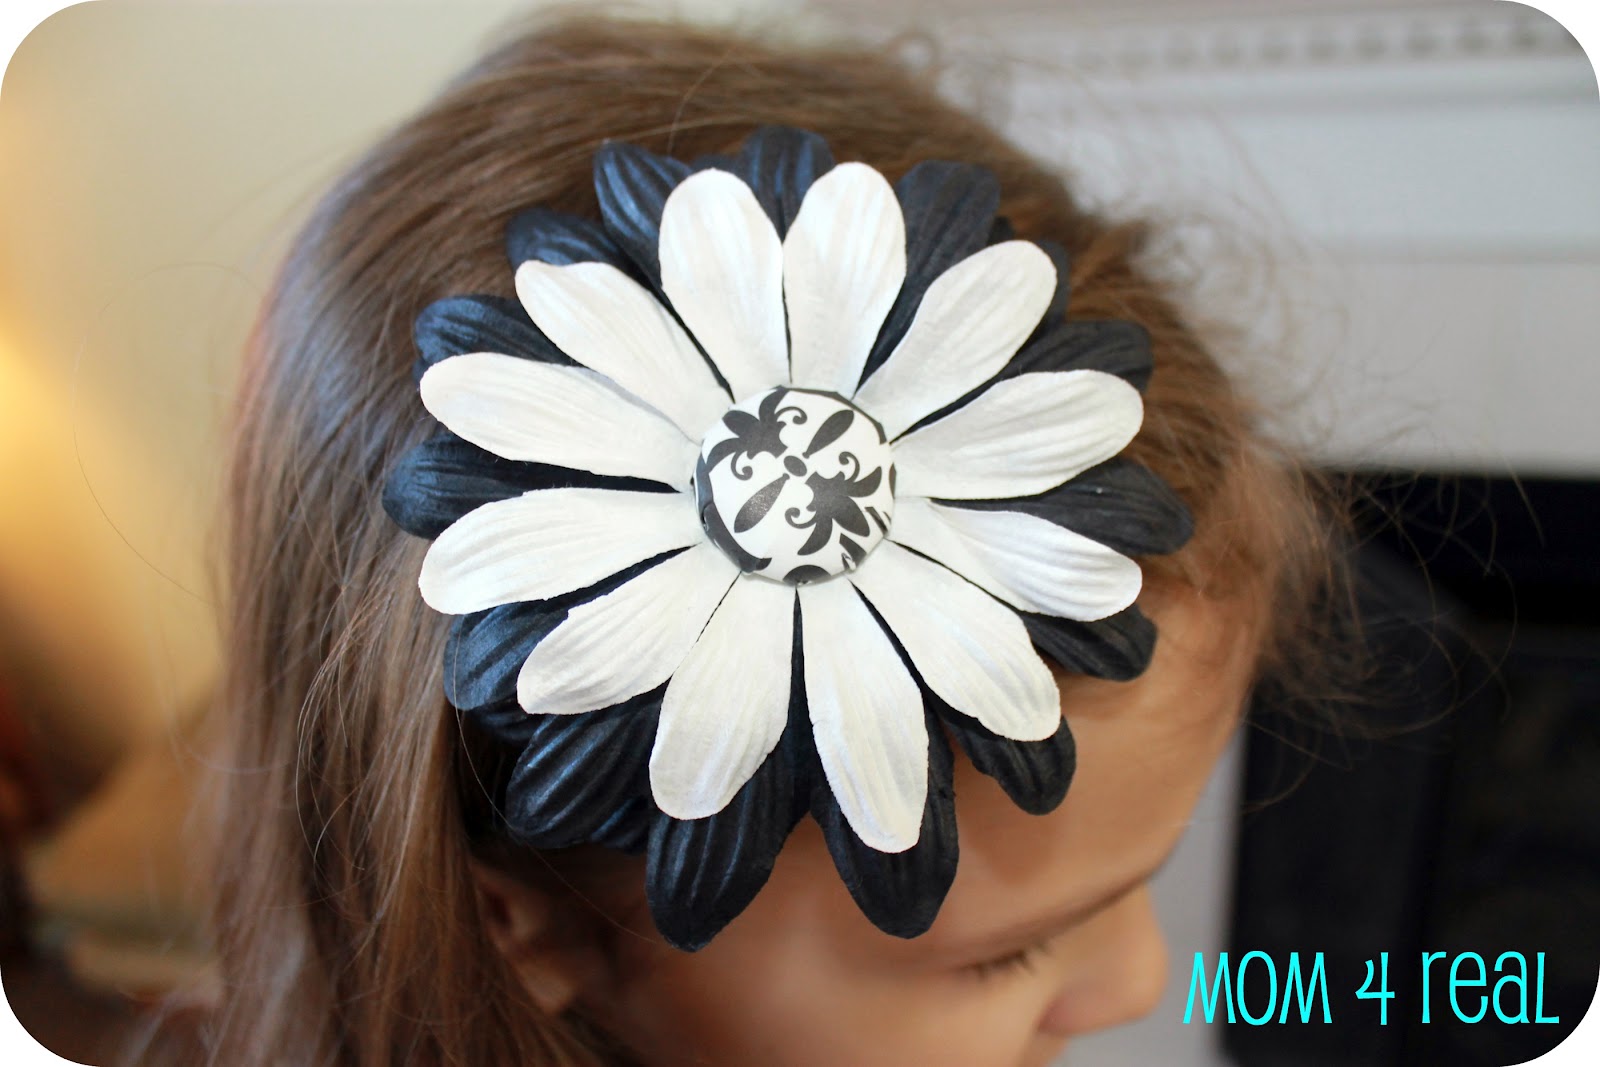
I have been making Kate's hair accessories for years, using silk and paper flowers with brads or buttons in the middle. My options have been pretty limited, until I saw a fabulous tool on TT&J last week. Jen had written a post about some really cool crafting tools that she saw at CHA, and I immediately knew that I had to have this one...

It's an i-top, and is made by Imaginisce. What is does, is take a any piece of paper or fabric, and helps attach it to a cover button. I make and sell monogrammed ribbon flip flops with cover buttons, but have always had to cover them by hand...this tool is a life saver!!! I rushed to Michael's yesterday morning and grabbed one up with my 40% off coupon...woot woot! Their is an entire line of supplies that go with it, so I bought some buttons and hair clips that actually screw together. I had tons of these paper flowers at home, so I ran home and put this adorable flower clip together in 5 minutes...

Michael's sells a stencil set that goes with the i-top, for $2.99, so I bought it. I traced and cut out the stencil for a 22mm (medium) button. I am going to go back and buy the punches instead, since I know I will be using it a ton!

Then, I followed the super easy instructions, and placed the paper and button in the i-top, and gave it a squeeze.
And out popped my paper covered button. I think I prefer fabric, but this was the pattern I wanted for her hair clip.

Next, I flipped the button over, and slipped my flowers over the screw.
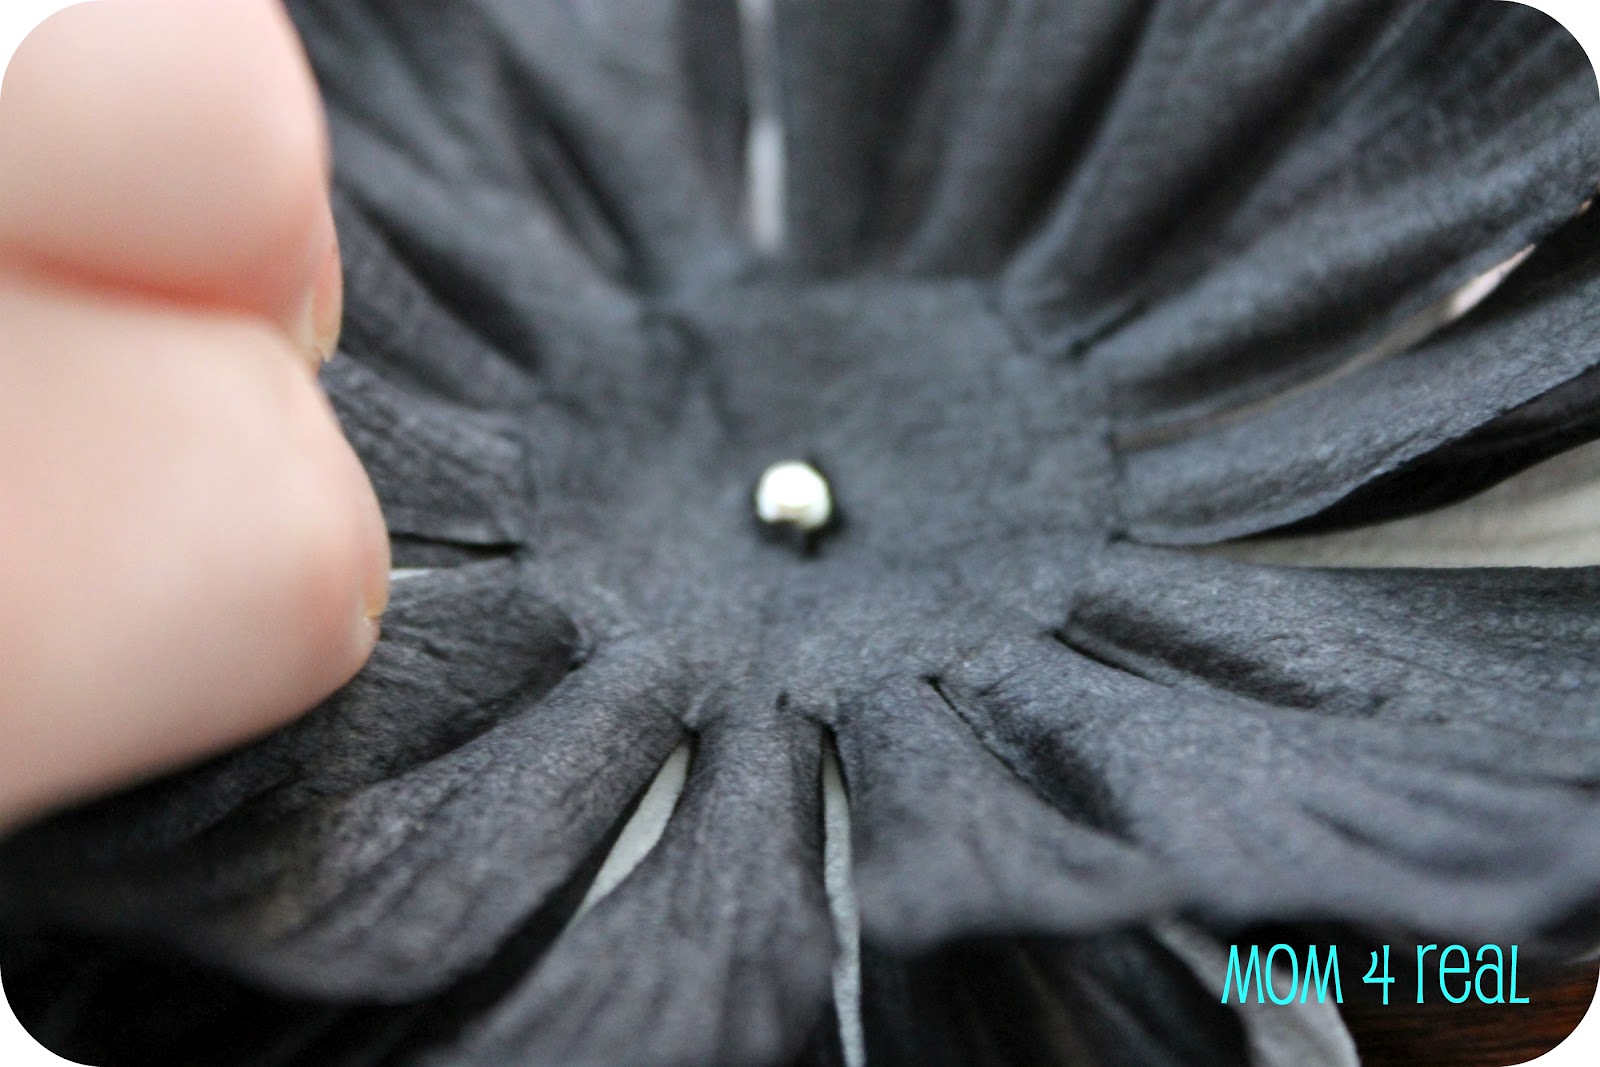
Finally, I screwed it onto the alligator clip.

Super, ridiculously easy and gorgeous!
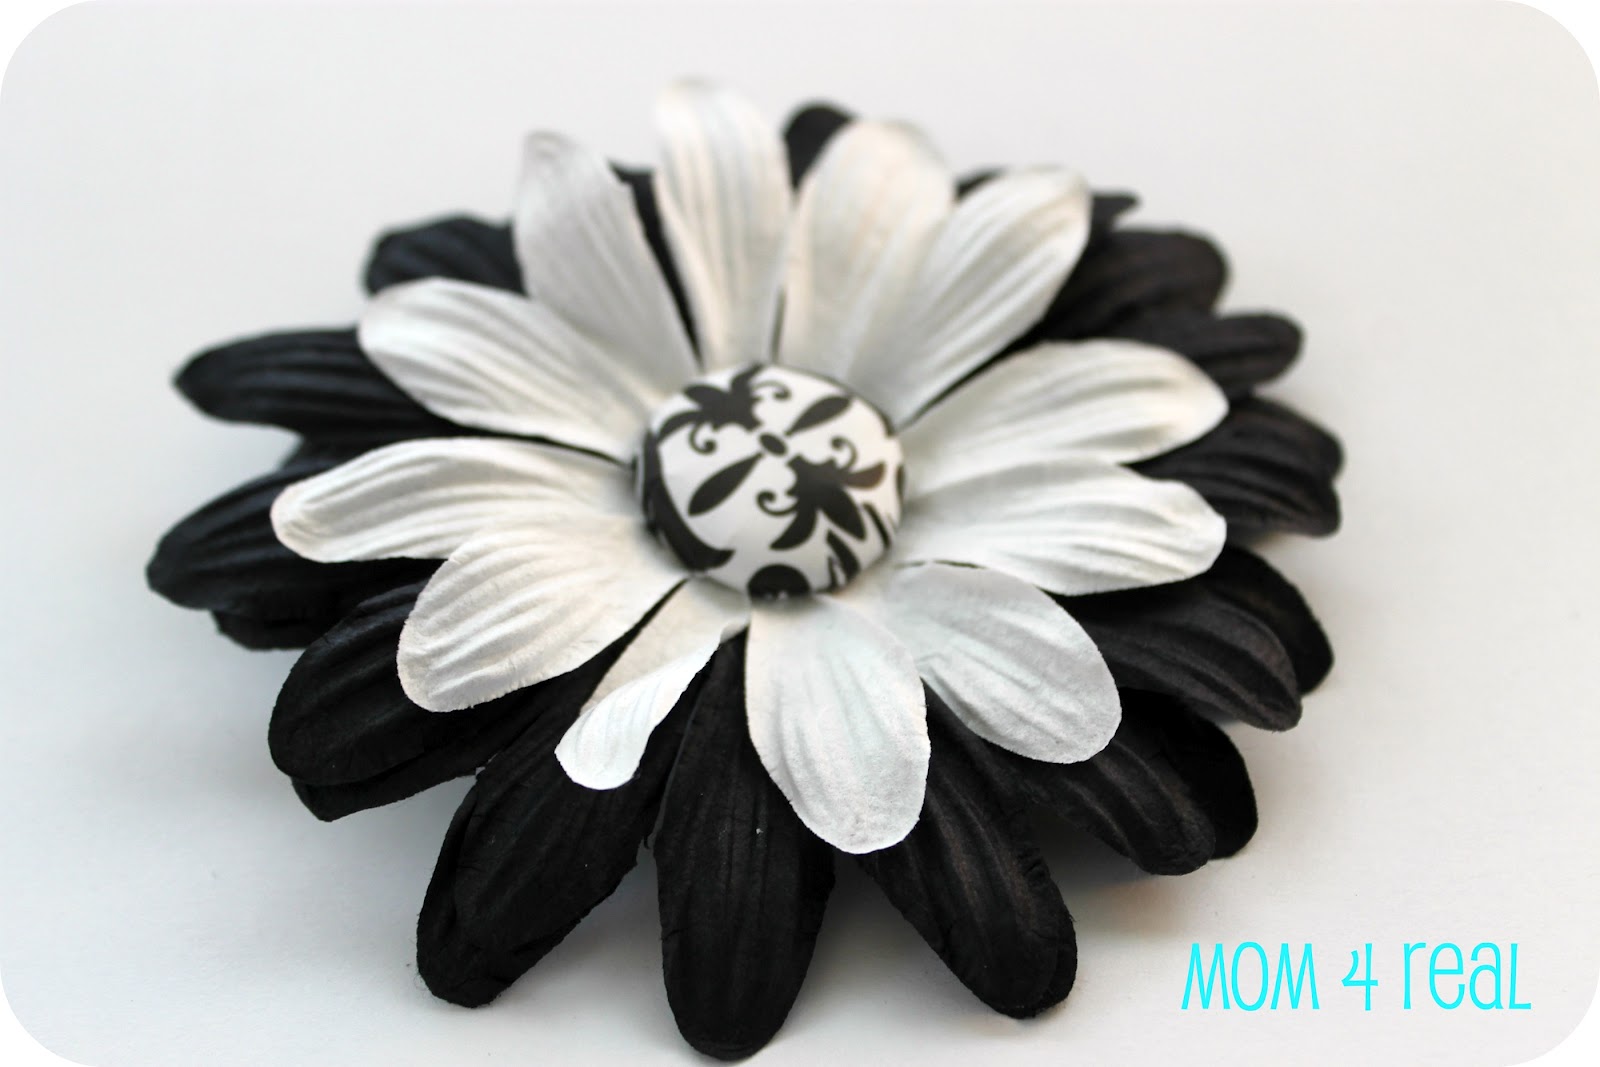
I cannot wait to make more! I love that I can put whatever I want on the button. You can use a picture of someone, a letter, or anything! I am going to make her a headband next, then myself a cute necklace!


Full Circle Creations says
Very cute. Visiting from Sunday Social.
Holly
Randee Hallmark says
Following from Linky Tool and would LOVE for you to link up to my Sleepy Sunday Linky Party!!
http://www.randeesorganizedchaos.com/2012/02/sleppy-sunday-linky-party-with-giveaway.html
Kir Gallo says
Found you on Social Sunday! Come vusit! http://Www.mamatinkstinkerings.blogspot.com
Justine says
Stopping by from the Linky Follower Party Hop!
Janel@hatingmartha says
How ridiculously cool is that! Must make your job soo much easier!
cathy@my1929charmer says
Will you make me one, cause I really like it. So very pretty and your daughter looks so cute perched within her hair. Thanks for sharing your creative inspirations at Sunday's Best Par.tay! Now following you on Linky!
Serendipity and Spice says
SO CUTE! Thanks for linking up!
JBlanton says
Hi- Love your blog
following you from linky followers blog hop- please stop by and follow me if you have a chance-thanks
http://www.mynotsohurriedlife.blogspot.com
Tammy H. says
Dropping by from the Linky Hop! New Linky follower! Can I get a follow back please? Thanks!
Tammy
http://luckyemeraldsreviews.blogspot.com/
Tales of a Trophy WIfe says
I want one! Pinned it for future reference.
Charlene@APinchofJoy says
So cute -- don't you love it when you find the perfect tool for the job! I would love it if you would come link up with Busy Monday (through Thursdays) at A Pinch of Joy, a linky party for ideas that make life better.
Our Delightful Home says
This is too cute!. I would love for you to link up at my linky party via: ourdelightfulhome.blogspot.com
Mrs. Delightful
Ourdelightfulhome.blogspot.com
jmmonroe says
Love it all- hair clip is darling 4 sure- could you tell me why you selected the cricut and how you like it I am new and want a machine to make things with [email protected] (Julie)
Six Sisters says
That is so cute! My little daughters would LOVE this! Thanks for linking up to Six Sister's Stuff! Hope to see you back next Saturday!
-The Sisters
Kristen @ My Covered Bridge says
Very cute! My daughter would love this!
Andi says
That makes it so much easier! I never knew they had such a thing. I must add it to the wishlist!
Bella says
So, so pretty!
Kristi says
So stinkin' adorable!! LOVE this. I've noticed Jen posting about this and it looks amazing. Very creative! Thanks so much for linking this up with Mop It Up Mondays at i should be mopping the floor last week. Enjoy the rest of your weekend!
{HUGS},
kristi
Bethany @ A Fish Who Likes Flowers says
This turned out beautiful! I love the pattern you used for the button! I might have to investigate this new gadget, I'm sure I'd put it to good use as well!
~Iffy~ @ StayAtHomeNation says
SO cute & thank you for all the information on what you used & how, great tutorial! I am your newest follower & I would love it if you stopped by My Favorite Things Party & linked this up! The Party runs all week so I hope to see you there! Stopping by from the Cure For the Common Monday Party.
XoXo
Iffy
aka Cameron
http://www.StayAtHomeNation.blogspot.com