

I am so excited to have my friend Meg from Nutmeg Place here today! She is wicked talented and a great friend too. A while back, Meg did this fabulous post on covering your backsplash with beadboard wallpaper...yep, wallpaper. Super easy to use, no cutting with a saw, too easy, and gorgeous!!! I recently bought my own, and of course, will be following her instructions and advice...so take a look and see this amazing transformation!
Friday I made a run to Lowe's to get paint for the chest of drawers and while I was waiting I browsed the nearby isles. I have wanted a beadboard backsplash since we moved in almost 4 years ago. First off, I'm terrified of power tools {working on getting over that}. Second, I'm the most impatient person in the world. Long and involved projects freak me out. I like instant gratification.
I found myself looking at paintable wallpaper. I had seen somewhere that this was available online, but I was so excited to see it in the store. I was a bit scared. Afterall, it is wallpaper. I thought, what the heck... lets give it a try. The roll was $19.00 and covered 56 sq ft. Plenty for the kitchen.
I figured this would be a perfect project to keep my mind occupied for a few hours. {sorry for the bad night time pics, but it was night time}. Here is where I started:

What I liked about this wallpaper is it was pretty thick, almost foam like. You can see our walls have the 'orange peel' texturing and I was really worried that would show through. But figured, what the heck... you wont know unless you try.

I cut a piece off the roll and dipped it into my sink of water, then I 'booked' it {folded the adhesive side onto itself} and let it activate for 5 mins. Put it up and trimmed it with a very sharp utility knife. First piece... so far so good! This could work!
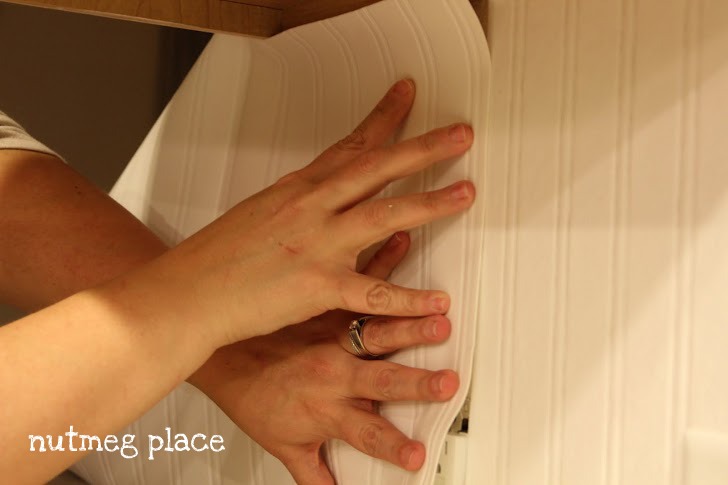
It was very, very, easy to work with. One suggestion: make sure the blade on the utility knife is VERY sharp. With a sharp blade this stuff cuts like buttah. When the edge gets dull, it will pull and tear the paper.
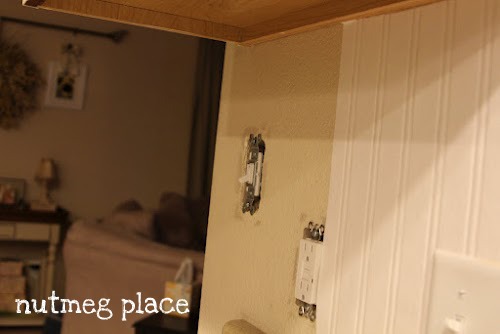
It kept getting better and better!!
The entire kitchen took about 3 ½ hours {I even got in a dance with my sweetie}. I let it dry overnight and this morning I ran a bead of white silicone caulk along the bottom edge to seal it up since it is a backsplash. This was messy. I have one of those little caulk spreaders that are supposed to make it all nice and clean. But, I found that a wet paper towel and my wet fingers worked so much better.
The clouds parted and the heavens sang:

I finally have my gorgeous beadboard backsplash!!
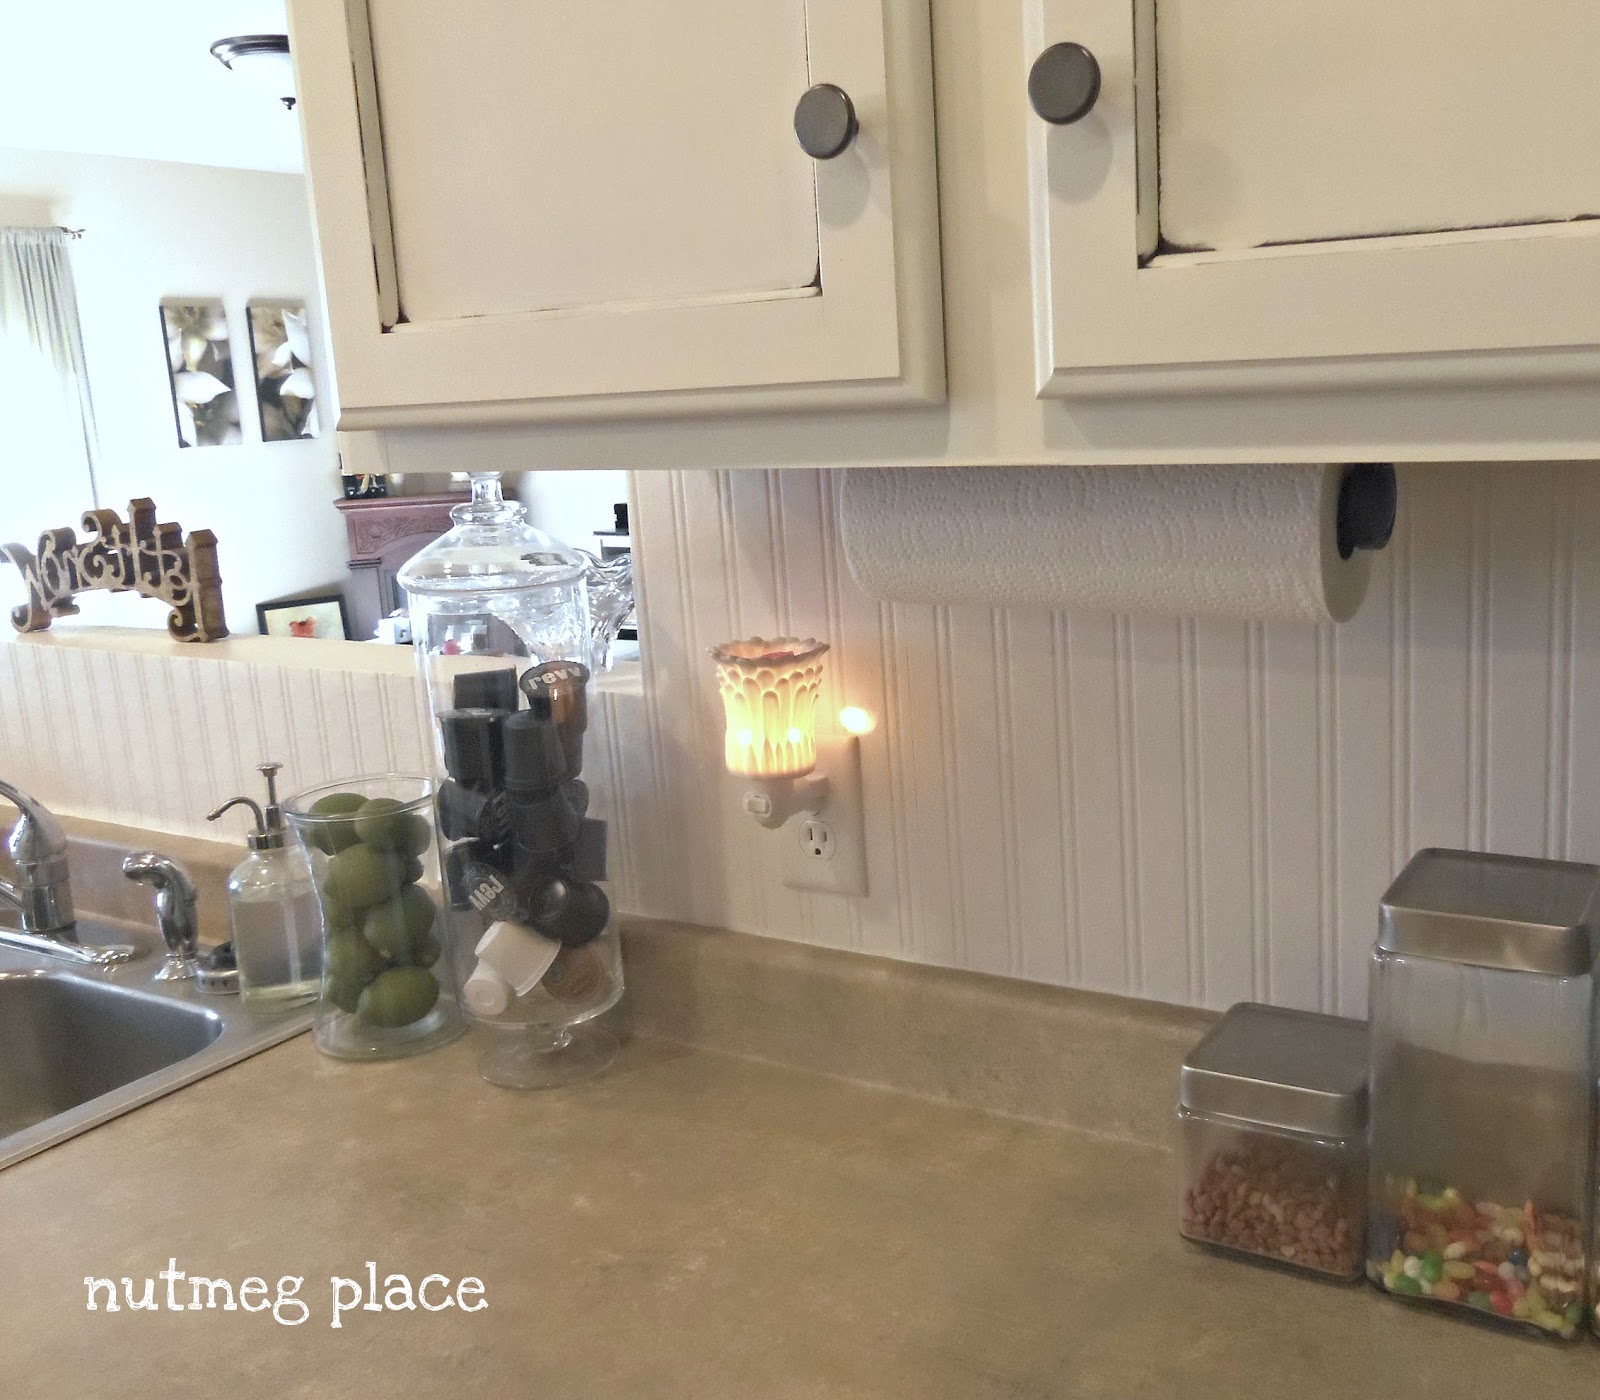
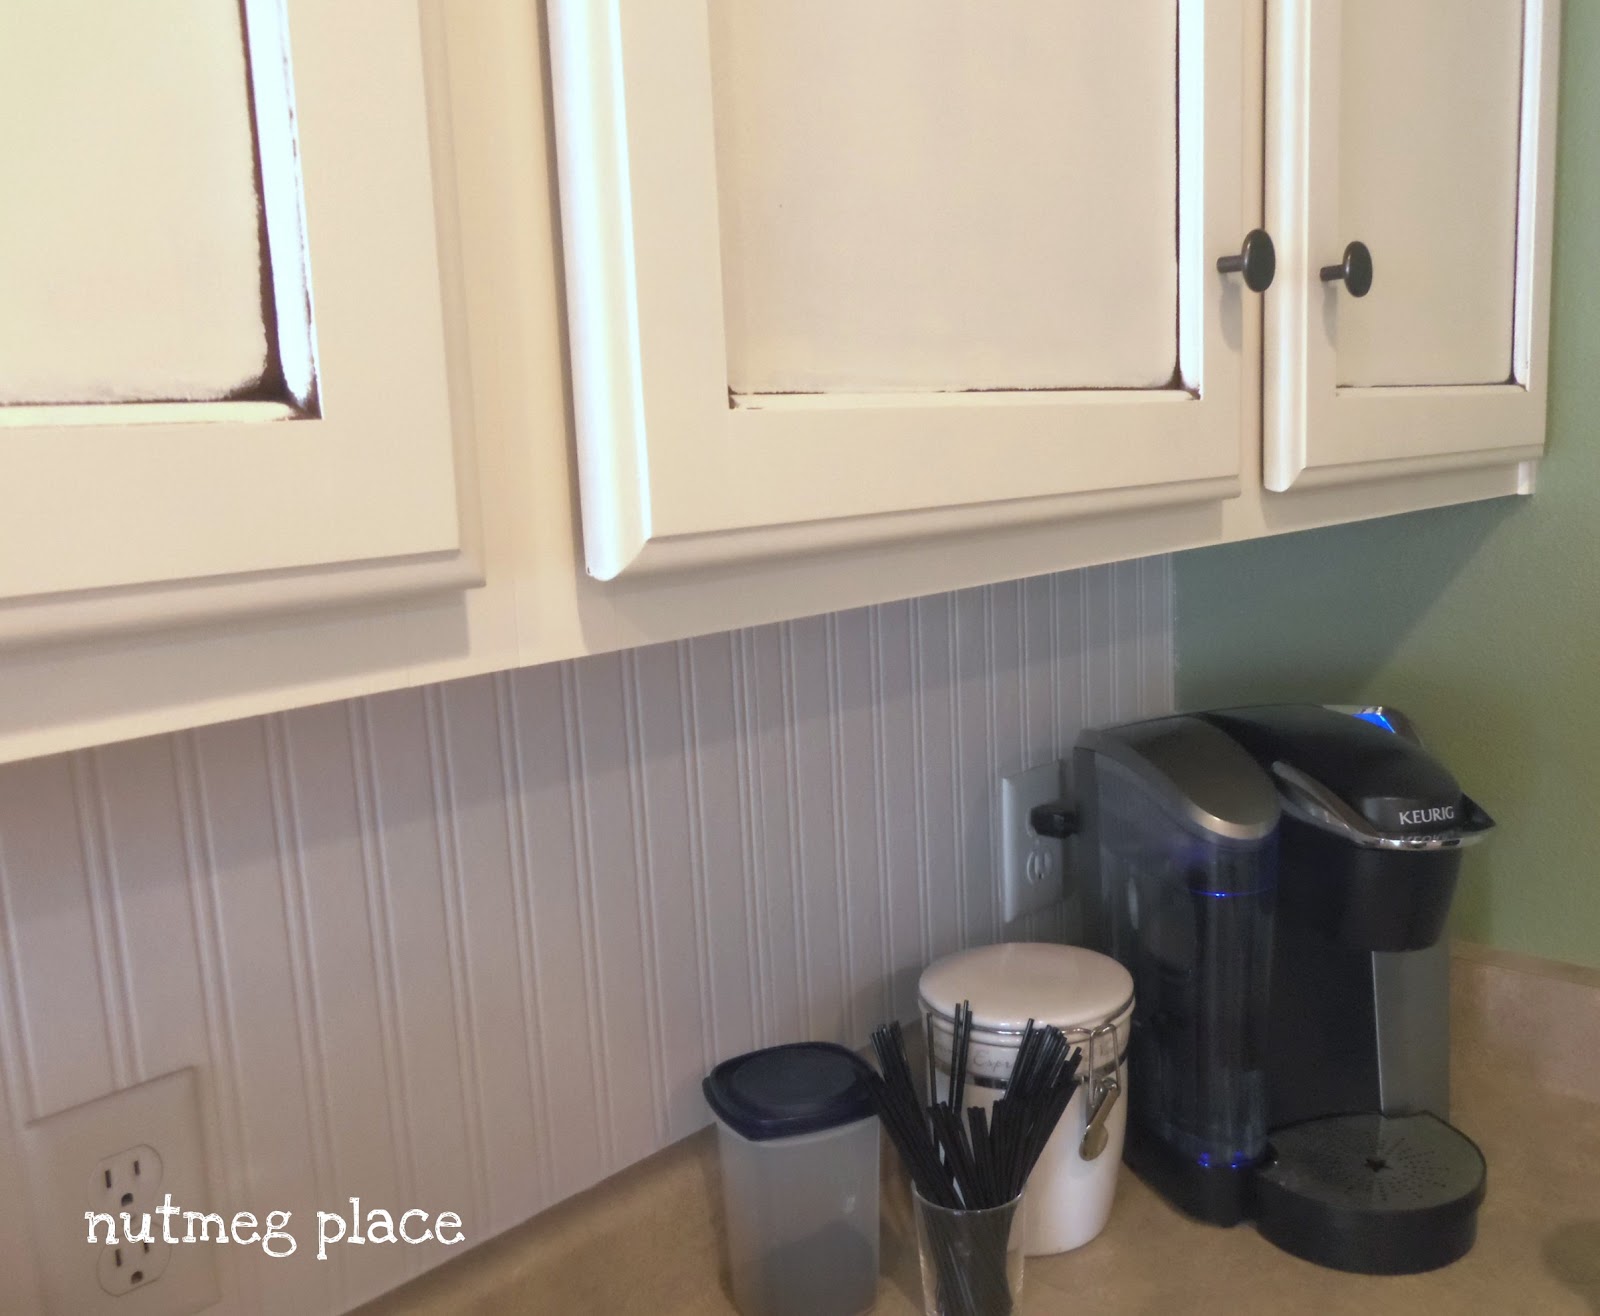

I think it looks amazing and I'm completely sold on this stuff!


{The basket o'junk}
I'm over the moon over this wallpaper and I'm thinking about putting it on every single surface in our house. I joke. No, not joking. Ok, but I have about a half roll left. So, you will be seeing more of this in the house!
WOO HOO!!! :-)
XOXOX
Add:
I will definitely be adding some moulding over these edges.
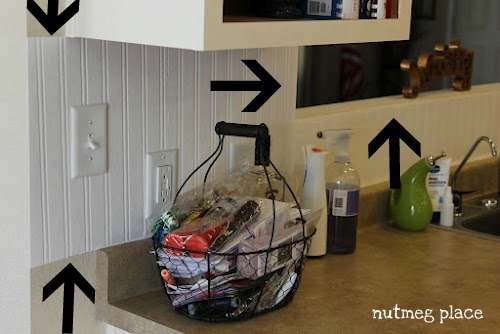
As we learned this morning when Drew reached through the arch and dragged his arm across the ledge, it pulls it off. So, I will be buying some seam repair and adding moulding to protect it. And I think it will make it look more finished. Yay.
Make sure to stop by Nutmeg Place...you will love Meg and her gorgeous home! You can also follow her journey on Facebook, Twitter, and Pinterest! Now I need to get my rear in gear and put mine up!




Heather says
Love your new backsplash Meg! Thanks for the detailed instructions...it really looks incredible!
4 You With Love says
This is gorgeous!
Something Nice and Pretty says
Well Jessica, you just sold me on the wallpaper.:) I've been on the fence about it, between the subway tile or this wallpaper, yours looks amazing! It actually looks like wood beadboard, the price is amazing too! Thanks for sharing this project, I can't wait to start on mine!
Something Nice and Pretty says
Sorry, thought it was you but it's Megs kitchen, I did pin it though:)
Meg says
Thanks for sharing my Beadboard wallpaper project! I love how this turned out! It was SO easy and almost a year later it looks brand new! LOVE this stuff!
Tiffany says
How does it clean up? I have young kids. I was thinking of putting this on my cupboards with some wood trim and painting white. Would they be wipeable--we know how little kids can be. ????
Kara @ Petals to Picots says
Wow! This stuff is amazing! Love the look!
~Laurie Ann says
This is great! I wish I had known about such a thing when I did my dining room, but there is always the upstairs bathroom...or my kitchn like you! Thanks for sharing this!
http://www.the-finishing-touches.net/
Shasta Farrar says
Oh yes, Meg is super talented! The beadboard backsplash looks amazing. I'll be thinking about where I can put some now.
Shasta @InTheOldRoad
P.S. If you like the beadboard, you'll love her board and batten. Go to her blog to see it...it's awesome!
Four Marrs and One Venus says
Very Purdy Meg girl!!!!!
Kari at A Grace Full Life says
Ok so I have had this wallpaper since last September.
Yep.
Sitting in my garage.
Because I am afraid of hanging wallpaper.
Now I have a great tutorial to help me!
Thank you soooo much!
Patty says
This is gorgeous! I never thought about doing the wallpaper beadboard before, but it looks great! I'm totally going to try it.
Meg says
Thanks for the love y'all! XOXO
Kadisha Fields says
Hello!
This was EXACTLY what my husband and I are looking for to accent our grey cabinets. I read at the end that the paper started to come off? Does that mean that it can easily and safely be removed? This is a big factor as we are just renting our place. Thank you again for posting this! Will definitely be book marking this page! :)
Jessica says
Yes, it can easily be removed for sure! I have already removed mine :) Good luck!
DANA says
Hi Jessica, I love this look and am trying to convince my husband to do this in our home. We have a window where our backsplash would be installed. It's a flush window frame. Any thoughts on how to work around that?