

Things have gotten a little busy around here lately. Between my family, the blog, my Etsy shop, and another little adventure I am taking, I am having trouble keeping up with everything. I am a list maker, and had stacks of list all over my desk...which makes me a little nuts. I had to find a better way to keep my lists in one place so I could see them and they wouldn't get lost. I have made a Picture Frame Turned Dry Erase Board before, but this time I needed it to be big enough to keep my lists on.
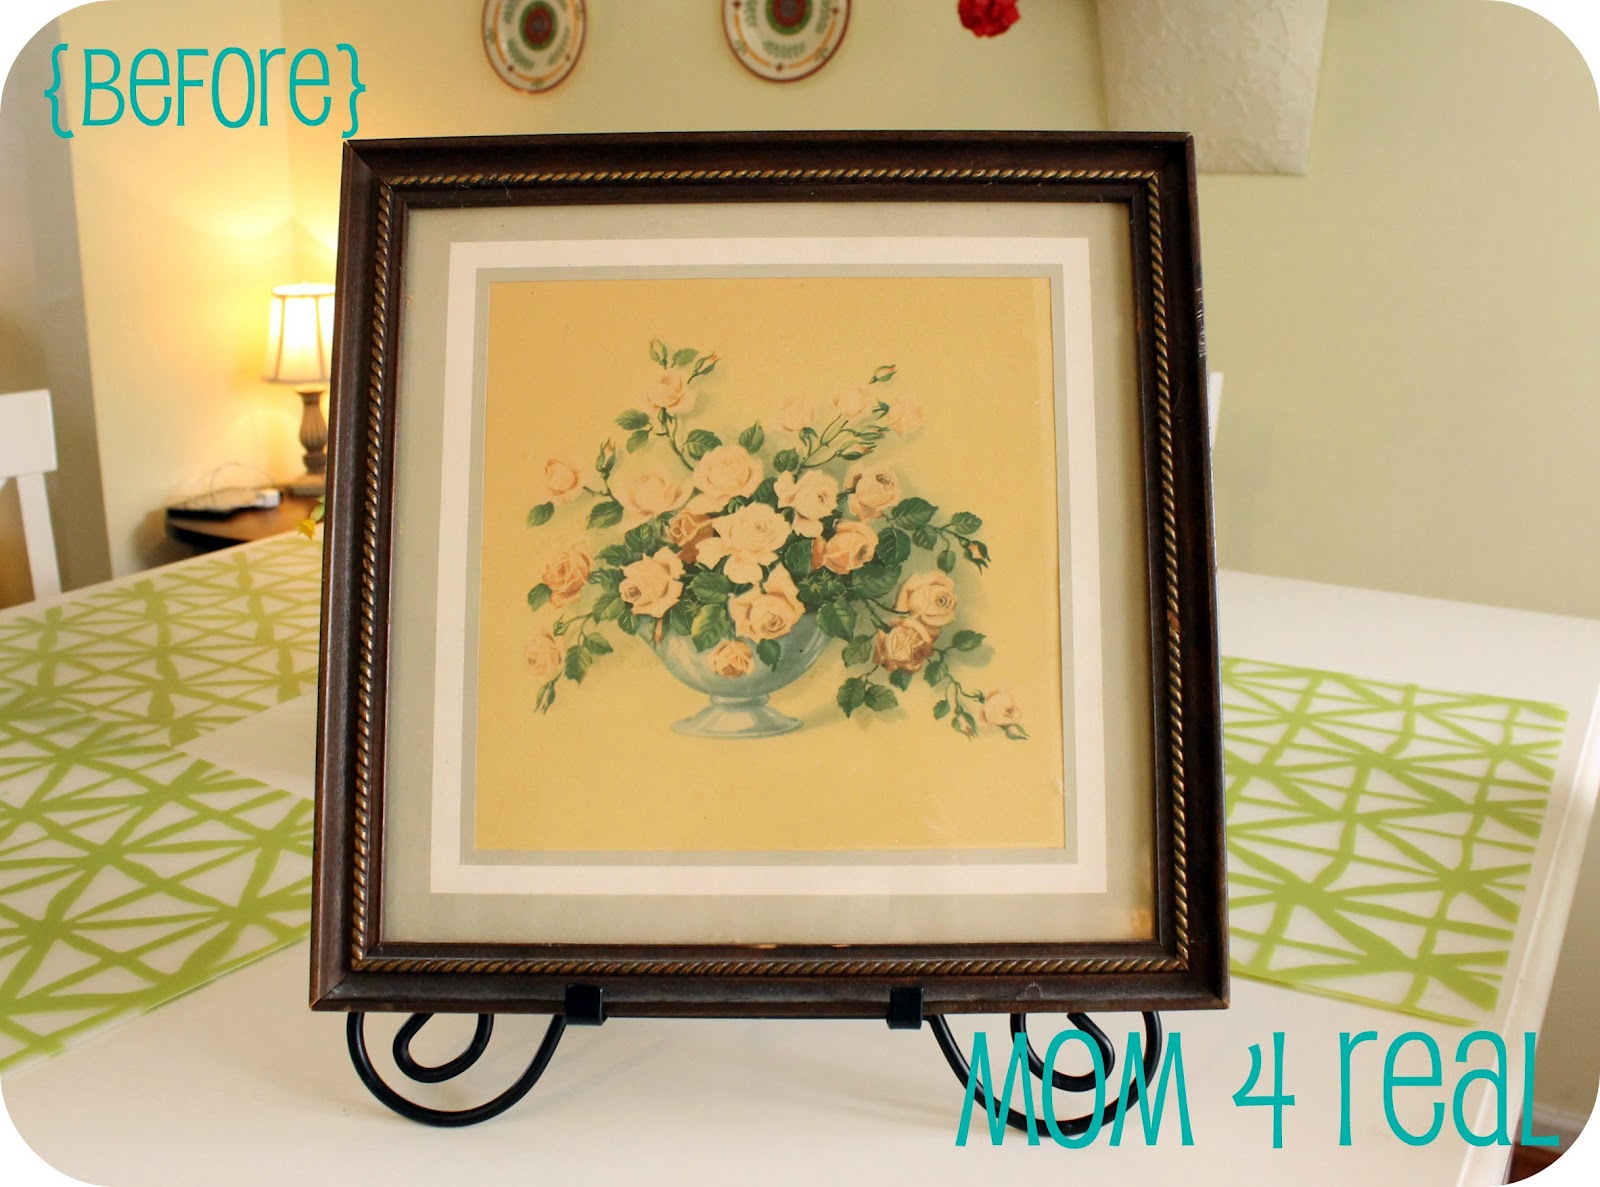
I had two of these prints. They are lovely, but if you could look a little closer, you would see how pitiful the matting is, and it's not painted, it's a print...kind of blah. I took all everything out...print, mat, and glass...and painted the frame a creamy white. I cleaned the glass and popped it back in the frame, then added a gorgeous piece of scrapbook paper. I printed the words Family and Blog on vinyl with my Cricut machine and added them to the front of the glass, then got to work making my lists! This is truly one of the easiest projects! You use a dry erase marker to write on the glass, and then wipe off with a cloth or paper towel to change it! Seriously, ridiculously easy! You can use any pattern or color of paper you like to make it match your decor, and you can use them anywhere!
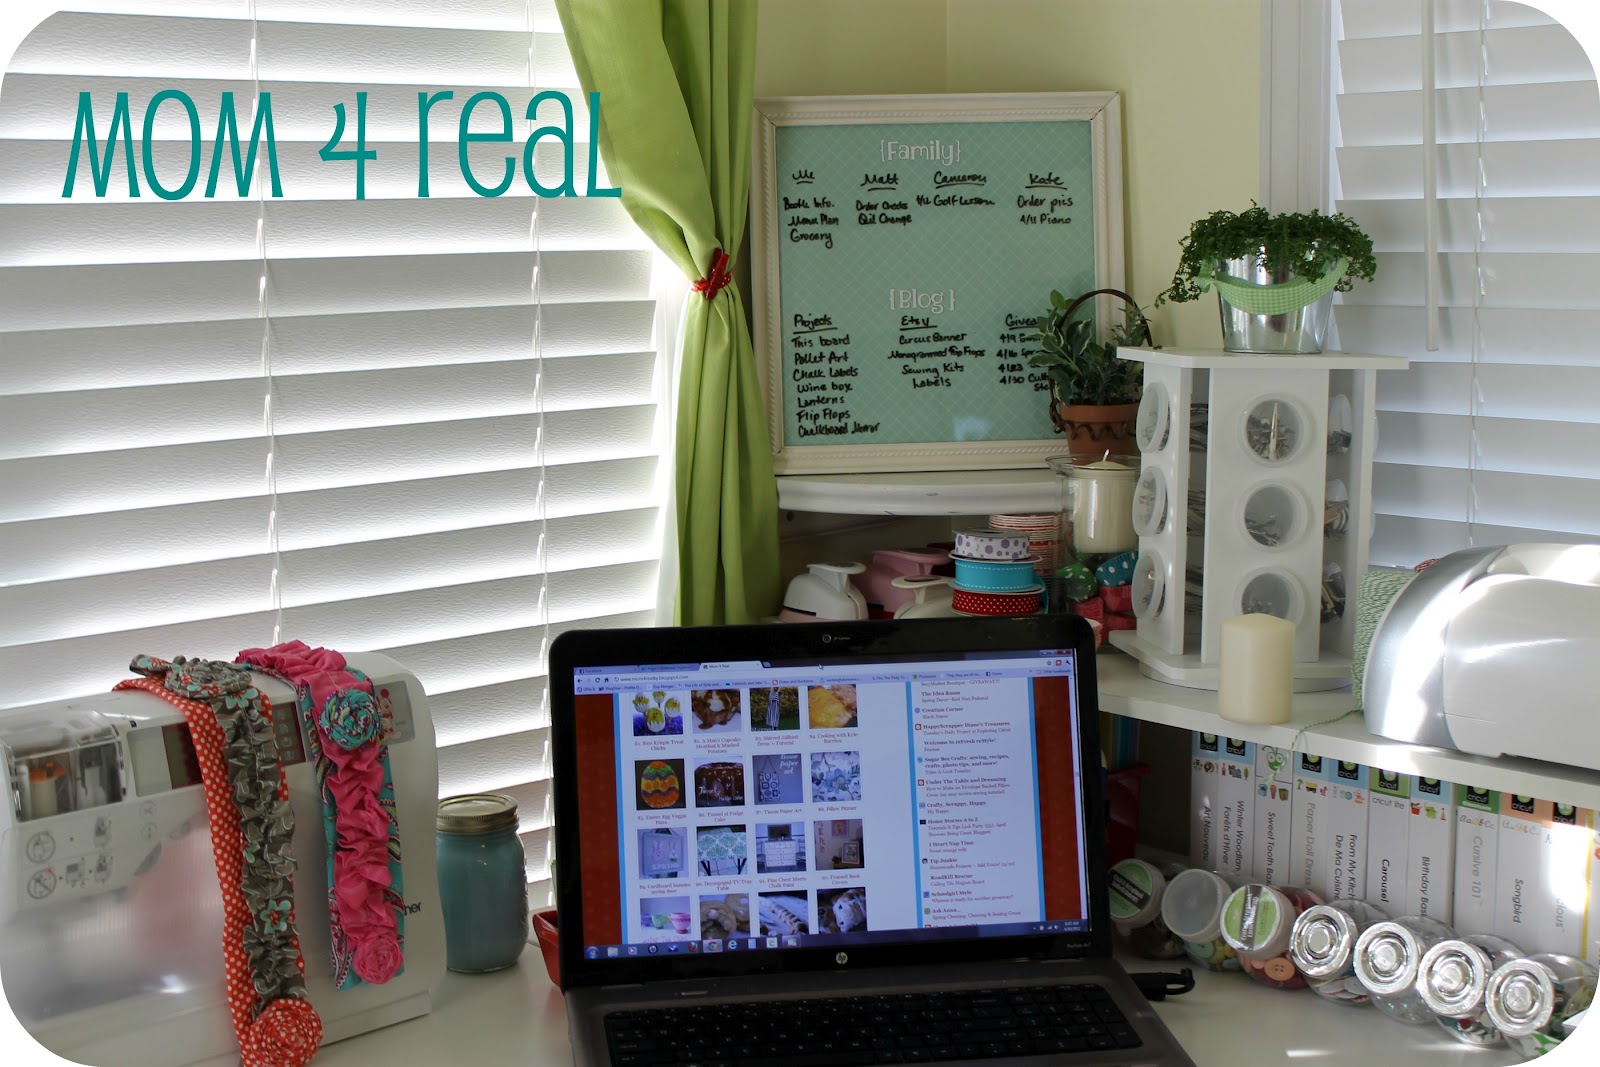
Mine lives behind my desk, so I can look up at any time to refresh my memory or mark something off.
Isn't if absolutely fabulous?
This post is sponsored by Bonn Bonn Boutique.
Make sure to enter this week's giveaway...3 lovely prints from the Bonn Bonn Boutique Etsy Shop!
Due to having some of my content and posts stolen by no good lazy people who don't do their own projects, I am sorry to have to truncate (shorten) my feeds. Please don't hold it against me, and continue reading, because I do love you and want to share my tutorials with you ;)
Love,
Jessica



Four Marrs and One Venus says
PERFECT Idea! I love that it just sits there STARING at you! :) That's the kind of board I need! And it's so cute too- win win lady!!
sara @ applestone drive says
Yours looks great! I just made a similar board here:
http://www.applestonedrive.blogspot.com/2012/04/list-maker.html
Great job!
Becky says
I LOVE this! This is exactly what I need. TFS :)
[email protected] says
Great idea!! I'd love to have you stop by and share this at What's New Wednesday, going now through Saturday night :)
http://www.gratefulbelly.com/2012/04/whats-new-wednesday-four.html
Danni Baird @ Silo Hill Farm says
Oh I love it! I have wanted a dry erase board but don't love the plain looking ones. Didn't know it could look so cute! Thanks for sharing it!
Linda Leyble says
Very good - why didn't I think of that! It's better than having to paint with the dry erase paint...duh!
Check out my latest project - a beautiful ceiling design
http://www.studioofdecorativearts.blogspot.com/2012/04/fifth-wall-importance-of-decorating.html
Thanks...Linda
MGal says
My friend just gave me a window pane to redo and I love this idea for it! Thanks, MGal. Come check out my plans for redecorating her place when you have a minute. =) watchmediy.com
Alison @ Oopsey Daisy says
I SO need a to-do list for my blog!! I love how easy this would be to erase. Thanks for sharing at oopsey daisy!
Heidi @ Decor & More says
Fantastic and simple! My kind of project... pinning this one!!
Heidi @ Decor & More
Beth says
I think it looks VERY pretty with the white paint frame and blue patterned paper! Very classy!
I just tried making one (a huge one) myself, but at least you didn't break the glass for yours :(
If you're at all interested in how mine turned out, read here: http://kabamfamily.blogspot.com/2012/04/it-was-going-to-be-cute.html
Heather says
What a great idea!! :) I love the fabric. So cute!!! I am your newest follower.
Melissa @ Loving this {crazy} life! says
What a great idea! You should link it up here: http://lovingthiscrazylife-melissa.blogspot.com/2012/04/its-piece-o-cake-linky-party-2.html
Karah @ thespacebetweenblog says
I love it! What a fun upgrade. I, too, and a list maker, they keep me sane and when they are disorganized..I am disorganized. Congrats on the tt&j feature. :)
Karah
Bonnie and Trish @ Uncommon says
I need to out your to-do list on my to-do list! It looks great! Thanks so much for sharing with us this week!
Take care,
Trish
Dry Erase Paint says
Nicely done! It's pretty cool how much a little bit of elbow grease can change the more mundane into something that you really want to use and have around - good job!