
Stirring muffin batter too long builds gluten, and that turns a tender muffin tough and chewy. A few lumps in the bowl are actually a good sign.
I love that being a little lazy with the spoon pays off here.
Sausage breakfast muffins take that lesson and add savory flavor. Crumbled pork sausage and sharp cheddar get folded into a tangy buttermilk batter.
The result bakes up golden in about 20 to 25 minutes.
The real win shows up later in the week. One batch makes 12 muffins, and they freeze well for up to a few months.
Pull one out, warm it in the microwave, and breakfast is handled before your shoes are tied.
The ingredient list is short, and most of it probably lives in your kitchen already. Grab a skillet, two bowls, and a muffin pan, and let's get baking.
A Short Shopping List for Sausage, Cheddar, and Buttermilk Muffins
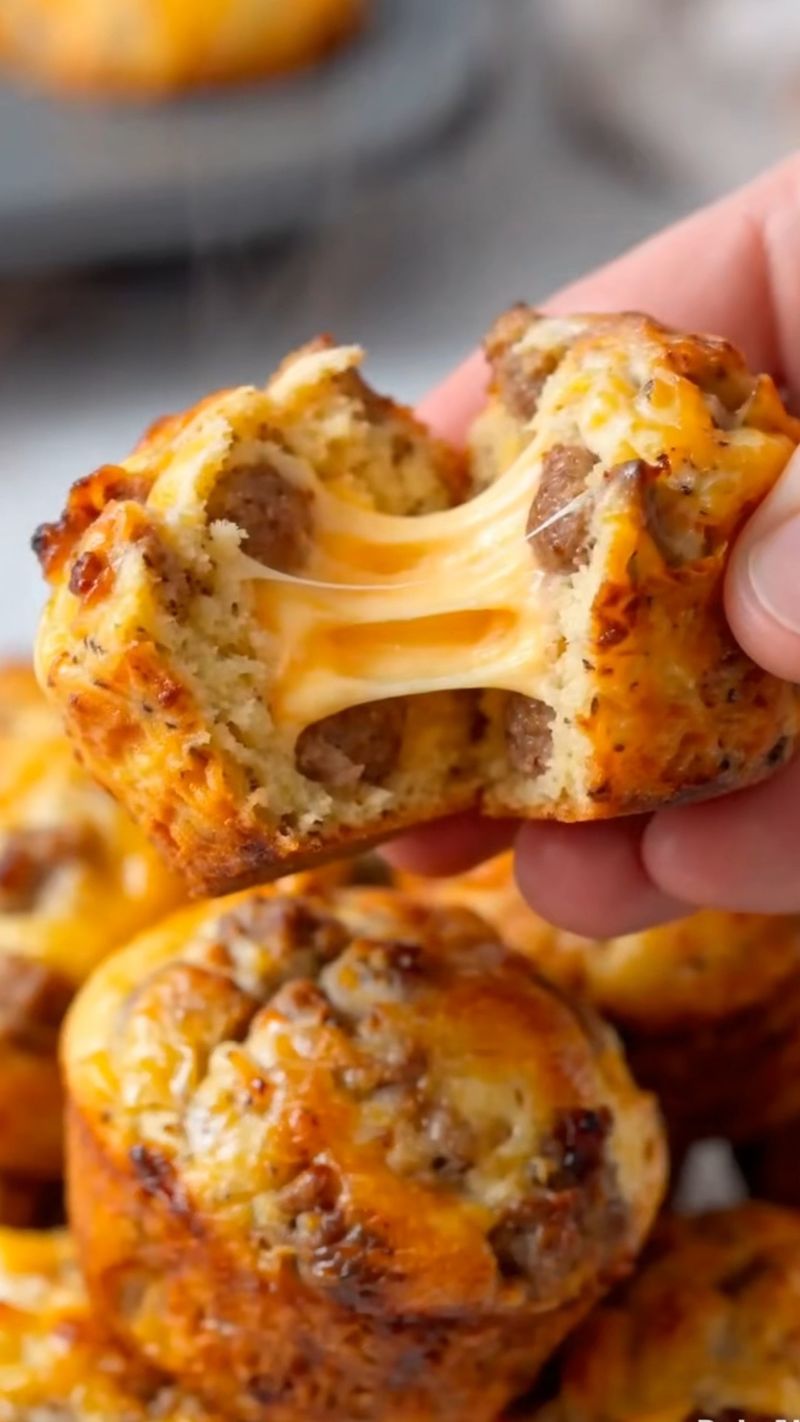
Two ingredients carry most of the flavor here: well-browned breakfast sausage and sharp cheddar. Buttermilk does the quiet work, giving the batter a gentle tang and a soft crumb.
Yield: 12 standard muffins
Prep Time: 20 minutes
Bake Time: 20 to 25 minutes
Total Time: 50 to 60 minutes, including cooling
For the Sausage:
- 1 tablespoon vegetable oil
- 8 ounces (about 225 g) uncooked bulk pork breakfast sausage, casings removed if using links
For the Batter:
- 2 cups (250 g) all-purpose flour
- 2 teaspoons baking powder
- ½ teaspoon baking soda
- ½ teaspoon salt
- ¼ teaspoon freshly ground black pepper
- 6 tablespoons unsalted butter, melted and cooled
- 1 ¼ cups buttermilk
- 2 large eggs
For Mixing In:
- 1 cup shredded sharp cheddar cheese (about 4 ounces)
You also need a standard 12-cup muffin pan and cooking spray. Paper liners are optional, but a greased bare pan gives the muffins crisper golden edges.
Step 1: Brown the Breakfast Sausage Until It Hits 160°F
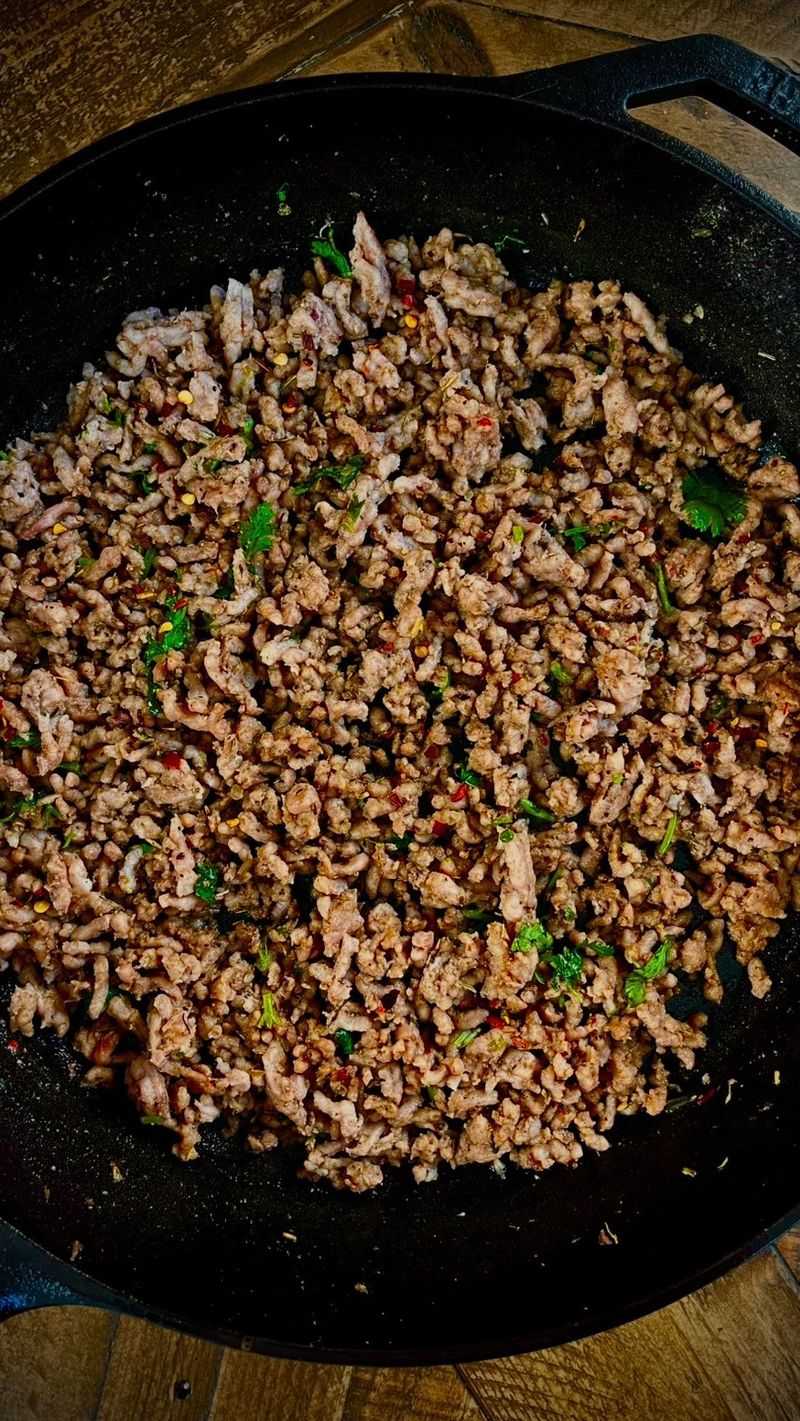
Flavor starts in the skillet, so give the sausage a real sear. First, preheat your oven to 375°F (190°C) and coat a standard 12-cup muffin pan generously with cooking spray.
Heat 1 tablespoon of vegetable oil in a medium skillet over medium-high heat until it shimmers. Add the 8 ounces of sausage and break it into small crumbles with a wooden spoon as it browns.
Cook for about 5 minutes, until no pink remains and a thermometer reads 160°F (71°C), the USDA safe temperature for ground pork. Smaller crumbles matter, since big chunks can make muffins lumpy and hard to bite.
Tip the cooked sausage onto a paper towel-lined plate and drain off the extra fat. Let it cool for about 15 minutes while you mix the batter.
Hot sausage can start cooking the eggs and melt the cheese too soon. A cooler mix-in keeps the batter smooth and the cheese in tidy little pockets.
Quick Tip: Use an instant-read thermometer in a thick cluster of crumbles for the most reliable reading.
Step 2: Whisk the Flour, Leaveners, and Pepper Together
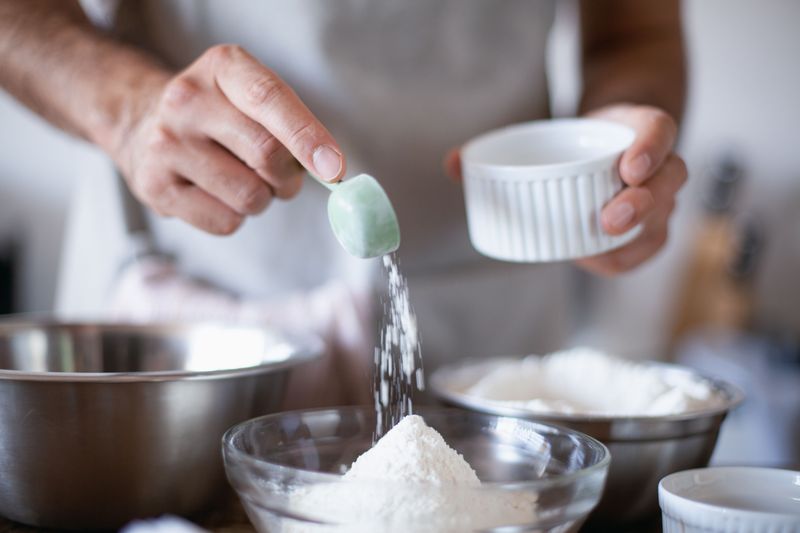
Baking soda and baking powder both show up here, and they have different jobs. The soda reacts with the tangy buttermilk, while the powder gives a steady extra lift in the oven.
In a large mixing bowl, add 2 cups of all-purpose flour and 2 teaspoons of baking powder. Toss in ½ teaspoon of baking soda, ½ teaspoon of salt, and ¼ teaspoon of freshly ground black pepper.
Whisk for about 30 seconds, until the mixture looks even and no streaks of salt or pepper stand out. Spreading the leaveners around now matters, because you won't stir much later.
Uneven leavening can cause lopsided muffins or bitter little spots of baking soda. A quick whisk prevents that problem without any extra dishes.
Measuring flour carefully helps too. Spoon it into the cup and level it off with a knife instead of scooping straight from the bag, which can pack in too much flour and dry out the muffins.
Quick Tip: Freshly ground pepper tastes brighter than pre-ground, and it pairs nicely with the sausage.
Step 3: Whisk the Buttermilk, Eggs, and Melted Butter Smooth
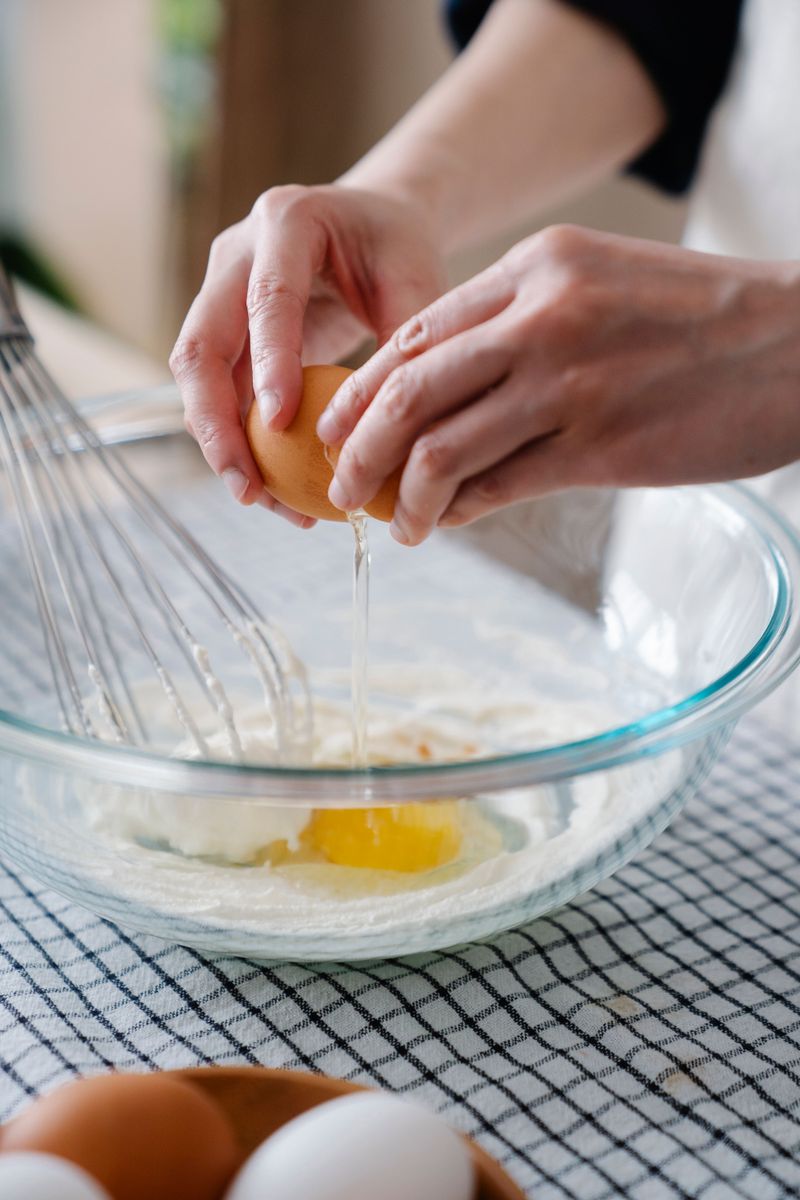
Ever had melted butter seize into little yellow clumps? Cold buttermilk can do that to hot butter, so a short cooling break helps a lot.
Melt 6 tablespoons of unsalted butter and pour it into a medium bowl. Let it sit for a few minutes until it feels just warm, not hot.
Add 1 ¼ cups of buttermilk and 2 large eggs to the butter. Whisk until the mixture looks smooth and evenly pale, with no streaks of egg white floating around.
Room-temperature eggs and buttermilk blend more easily with the butter. If yours came straight from the fridge, set them on the counter while the sausage browns.
Fat from the butter keeps the crumb tender and helps the muffins stay moist after reheating. Eggs add structure, so the muffins hold together around those sausage crumbles.
No buttermilk in the fridge? Stir 1 tablespoon of lemon juice or white vinegar into enough milk to make 1 ¼ cups, then let it stand for 5 minutes.
It will thicken slightly and work in place of buttermilk.
Step 4: Fold in the Sausage and Cheddar and Stop While It's Lumpy
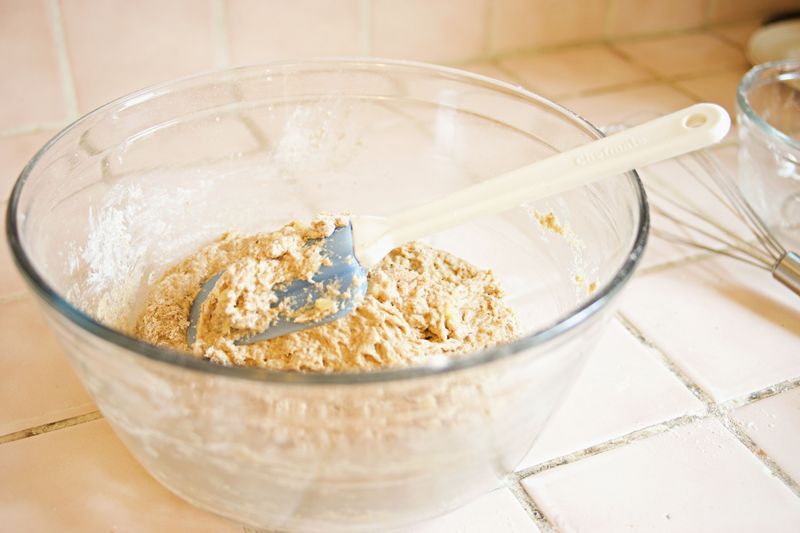
Lumpy batter is the goal, and that might feel strange at first. Stirring too long develops gluten, which turns soft muffins tough and chewy.
Pour the wet ingredients into the bowl of dry ingredients. Using a rubber spatula, fold from the bottom up just until you no longer see big patches of dry flour.
Add the cooled sausage and 1 cup of shredded sharp cheddar. Fold a few more times, only until the mix-ins look spread through the batter.
Expect a thick, shaggy batter with a few small lumps. Those lumps hydrate in the oven, so leave them alone.
Count your strokes if it helps. Around 15 to 20 gentle folds in total is usually plenty for this amount of batter.
Adding the sausage and cheese near the end protects your work. If you mixed them in separately after a full stir, you'd be stirring twice and risking a dense crumb.
Quick Tip: Toss the cheese and sausage with a spoonful of the dry mix first if you want them less likely to sink.
Step 5: Fill the Muffin Pan Right to the Top
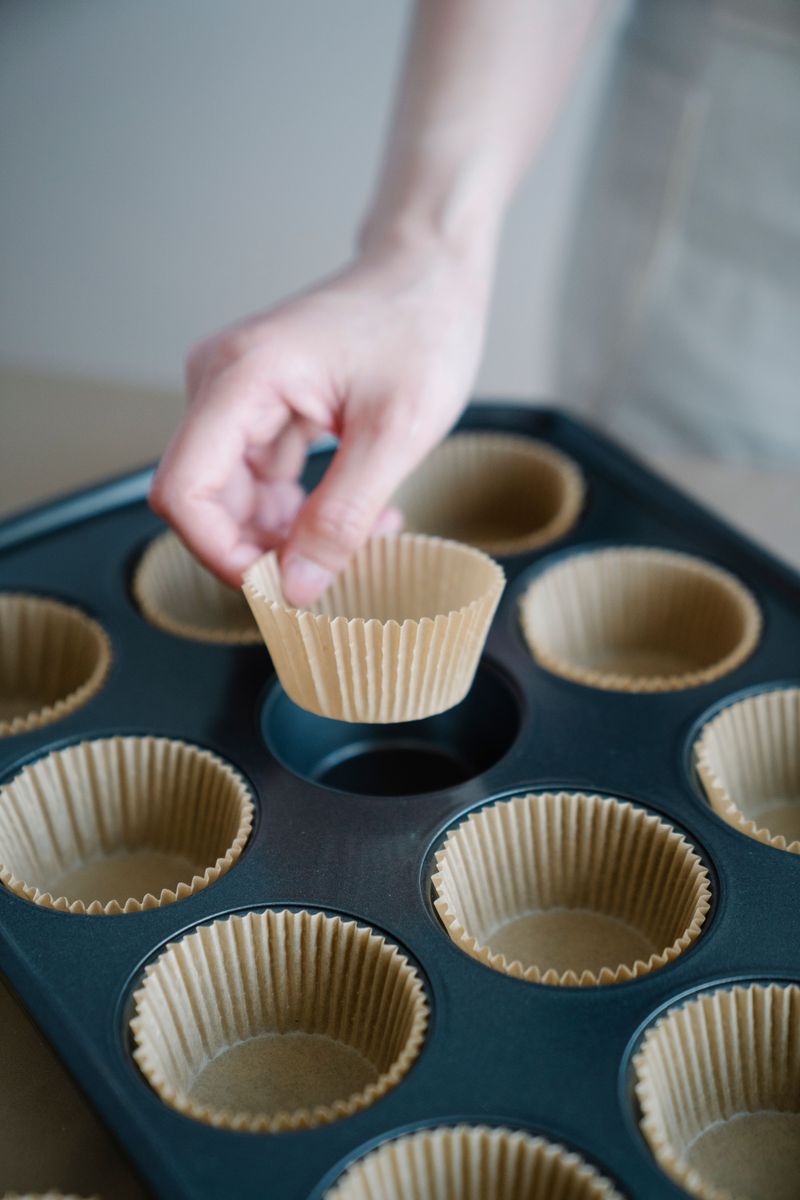
Tall, domed muffins come from full cups, so don't be shy with the batter. This recipe is designed to fill all 12 wells quite generously.
Divide the batter evenly among the 12 greased cups of your muffin pan. A large spring-loaded scoop or two spoons makes the job faster and keeps the portions matched.
The cups should look full, nearly level with the rim. Even portions matter, because muffins of the same size bake in the same amount of time.
If one cup looks low, borrow a bit from a fuller one. Tiny muffins finish early and can dry out while the bigger ones catch up.
Smudges of batter on the pan's top surface can burn and stick. Wipe them off with a damp paper towel before baking for easier cleanup later.
Thick batter won't level itself, so gently smooth the tops with the back of a spoon if they look jagged. You can also sprinkle a little extra cheddar on top for crispy edges, but it's optional.
Step 6: Bake the Muffins Until the Tops Turn Golden
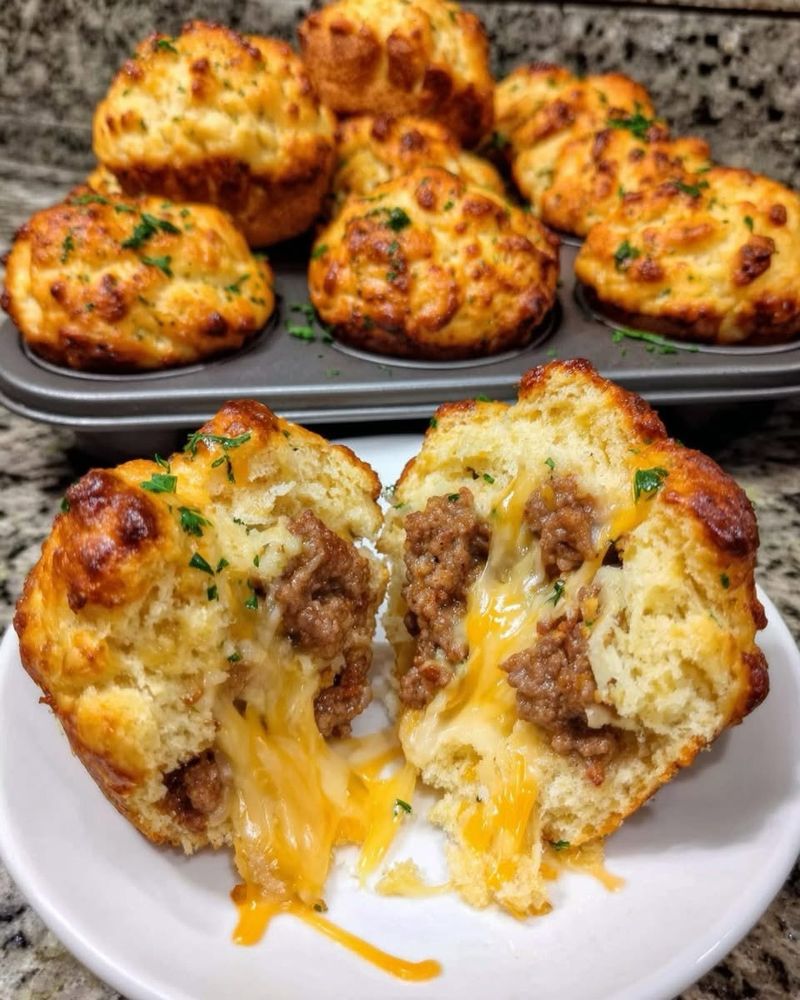
Your oven has been waiting at 375°F (190°C), so slide the pan onto the center rack. The middle position helps heat reach the tops and bottoms evenly.
Bake for 20 to 25 minutes. Start checking at the 20-minute mark, since ovens often run a little hot or cold.
Look for tops that have just turned golden brown and spring back when you press them lightly. Then push a toothpick into the center of one muffin.
A clean toothpick or one with a few dry crumbs means they're done. Wet batter means they need 2 to 3 more minutes before you check again.
Melted cheese can fool you, since a toothpick that hits a cheese pocket may look gooey. Test a second spot if that happens.
Resist opening the door over and over during the first 15 minutes. Each peek lets heat escape, and that can slow the rise.
Quick Tip: An inexpensive oven thermometer shows whether your oven truly reaches 375°F, which helps you trust the bake time.
Step 7: Cool the Muffins Briefly, Then Serve Them Warm
Patience pays off for just five minutes here. Freshly baked muffins are fragile, and pulling them out too soon can tear them apart.
Set the hot pan on a wire rack and let the muffins rest for about 5 minutes. During that time, steam settles and the crumb firms up enough to handle.
Run a thin butter knife around each edge to loosen any stuck spots. Lift the muffins out and place them on the rack.
Leaving them in the pan too long traps steam underneath. That steam can turn the bottoms soggy instead of lightly crisp.
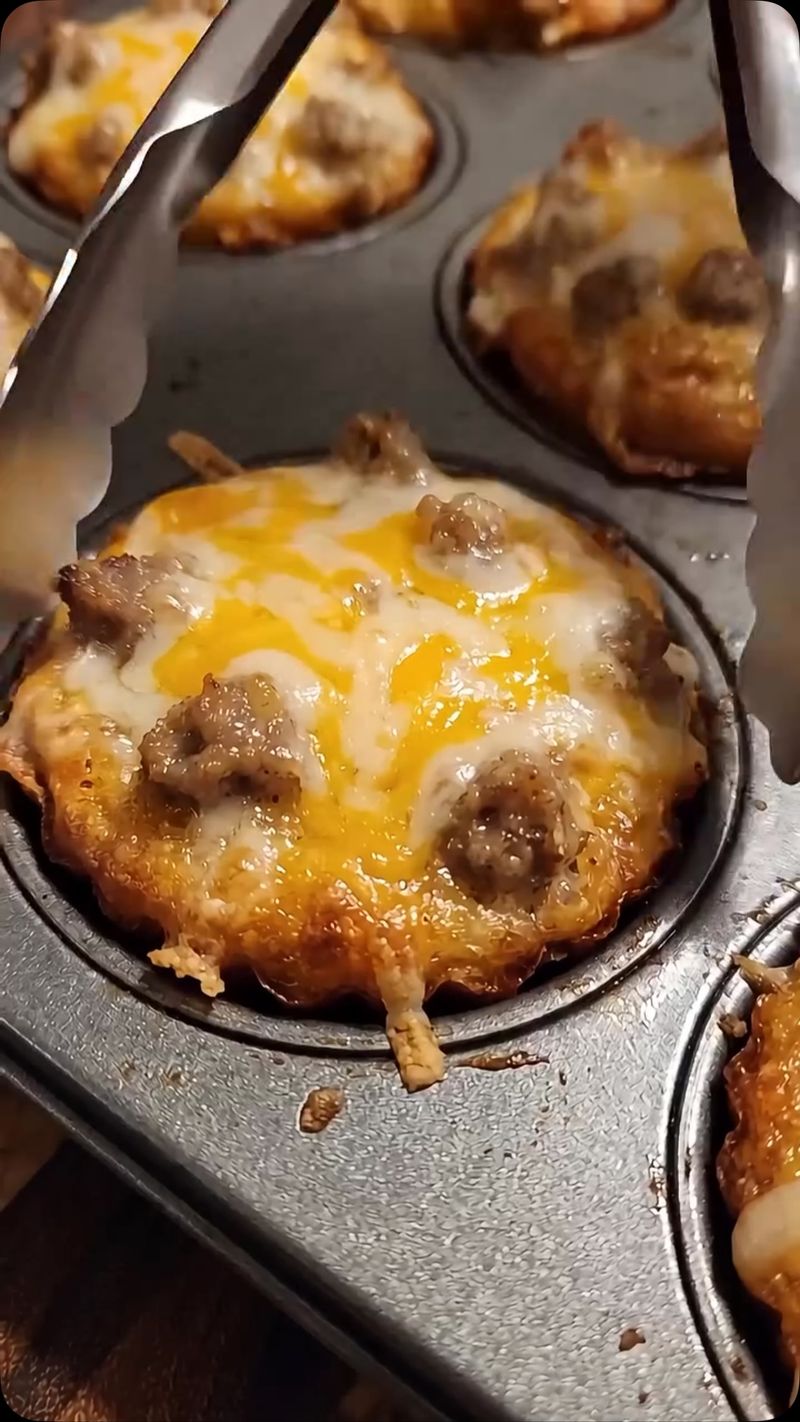
Serve them warm with a little butter, hot sauce, or a side of fruit. Breaking one open shows off the melty cheddar and sausage crumbles inside.
Planning to save some for later? Let the extras cool completely on the rack before storing them, since warm muffins sealed in a container can sweat and turn gummy.
Food safety still counts, so don't leave them sitting out all morning. Get leftovers into the fridge within 2 hours of baking.
Freeze Sausage Breakfast Muffins for Grab-and-Go Weekdays
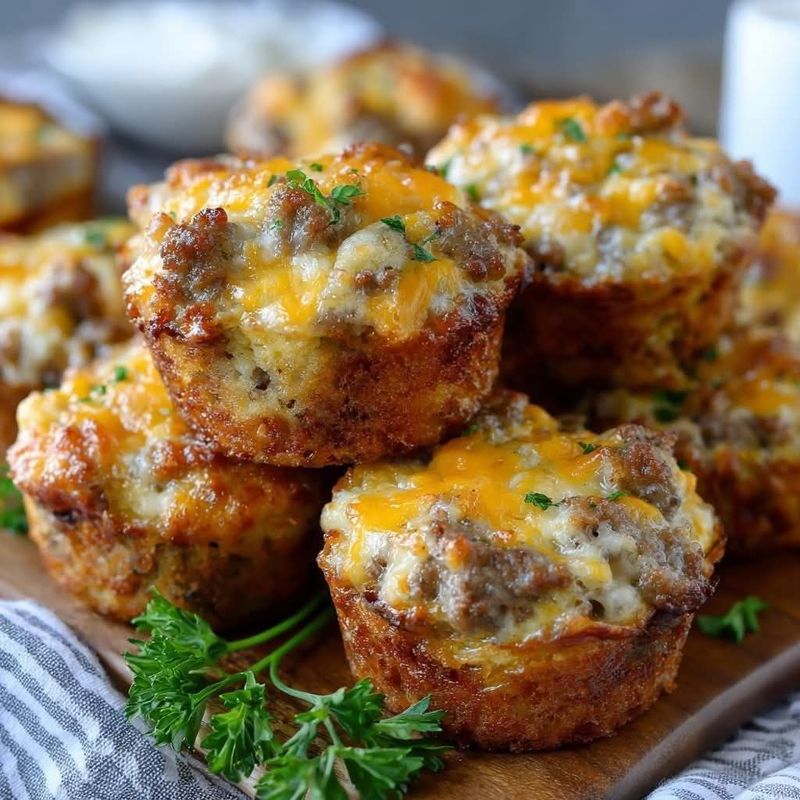
A Sunday batch can cover most of your school or work week. With a little planning, you'll turn a 50-minute project into many one-minute breakfasts.
Because these muffins contain meat, eggs, milk, and cheese, refrigerate them within 2 hours of baking. Stored in an airtight container in the fridge, they keep for 3 to 4 days.
For longer storage, cool them completely and wrap each muffin in plastic wrap. Place them in a freezer bag, press out the air, and label it with the date.
Wrapping them one by one stops them from sticking together. You can grab a single muffin without chipping it off a frozen clump.
Frozen muffins hold their best quality for about 2 to 3 months. They stay safe longer, but the texture slowly dries out.
To reheat, unwrap one and microwave it for 30 to 60 seconds, until hot in the center. For several, warm them in a 350°F (175°C) oven for 8 to 15 minutes.
Either way, aim for 165°F (74°C) throughout. A thawed muffin from the fridge overnight reheats faster.
Swap the Sausage, Cheese, and Add-Ins Without Wrecking the Batter

Got a spicy streak or a picky eater? This batter handles a few changes nicely, as long as you remember that each swap can shift texture or moisture.
- Turkey or chicken sausage: Cook poultry sausage to 165°F (74°C) instead of 160°F. It's usually leaner, so the muffins may taste a little milder and less rich.
- Spicy sausage: Hot pork breakfast sausage brings heat with no extra steps. Drain it just as well as the regular kind.
- Other cheeses: Monterey Jack, pepper jack, or Gruyere melt well and can replace the cheddar cup for cup. Milder cheeses give a softer flavor.
- Green onions or chives: Fold in about ¼ cup, thinly sliced, for fresh onion flavor. They add very little moisture.
- Bell peppers: Dice them small and saute them briefly first. Raw peppers release water and can leave soggy spots.
- A pinch of heat: Add a pinch of cayenne to the dry mix, or a dash of hot sauce to the wet ingredients.
Keep total add-ins close to the original amount. Too many extras can weigh the batter down and slow the rise.
Why Sausage Muffins Turn Dense and How to Keep Them Fluffy
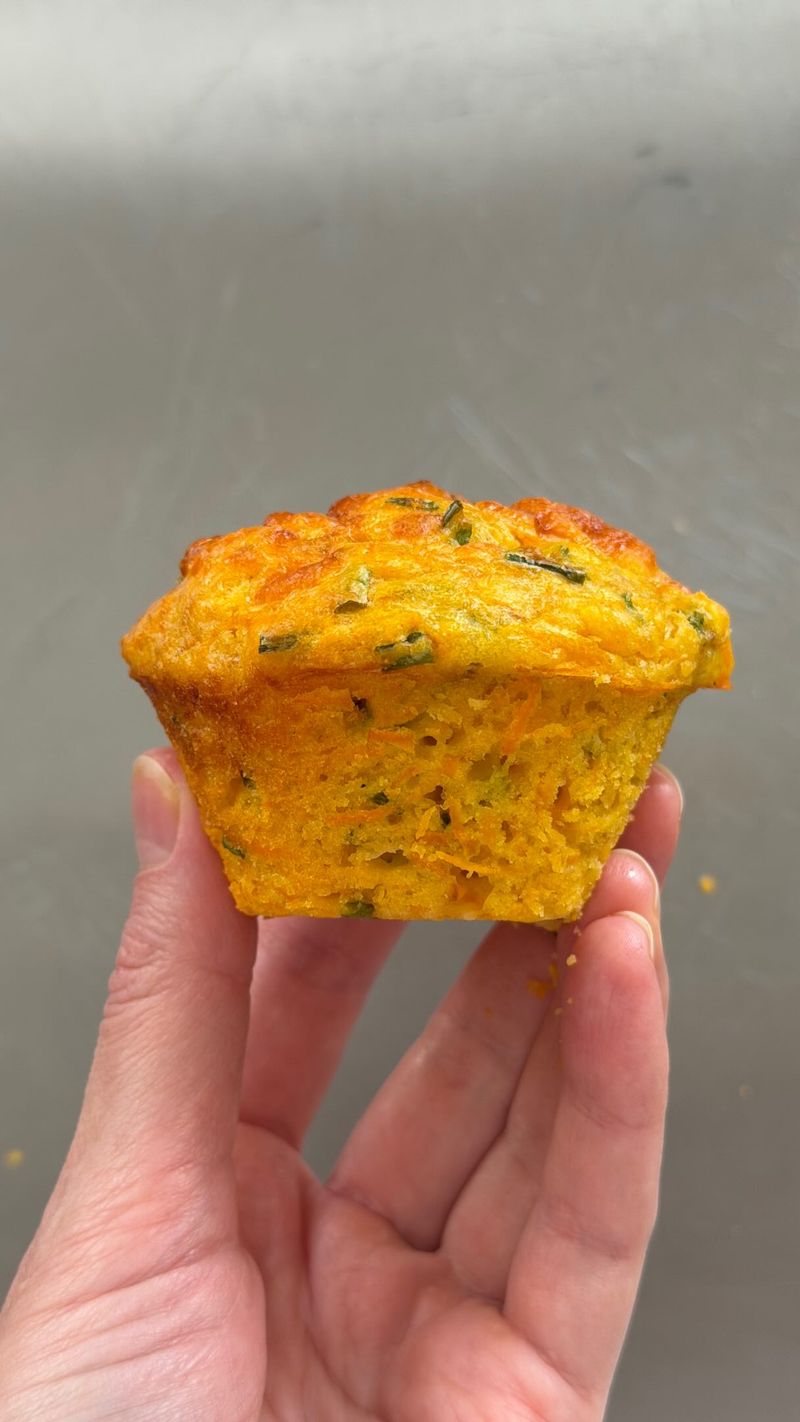
Muffin mishaps usually leave clues behind, and most point to one small step. Match the problem to the likely cause, then adjust your next batch.
- Dense or tough: Overmixing is the usual suspect. Fold only until the flour disappears, and let the lumps stay.
- Greasy bottoms: The sausage probably held extra fat. Drain it on paper towels and blot the top before folding it in.
- Sticking to the pan: Grease every cup well, including the upper rim. Rest the muffins for 5 minutes, then loosen with a thin knife.
- Raw centers: The oven may run hot, browning the outside before the middle sets. Check with an oven thermometer, and tent loosely with foil if tops darken early.
- Dry muffins: Overbaking or too much flour can cause this. Spoon and level your flour, and start testing at 20 minutes.
- Flat tops: Old baking powder loses strength. Check the date, since an opened can often weakens after several months.
Small fixes add up fast. One or two tweaks can move a so-so batch closer to soft, golden muffins next time.




Leave a Reply